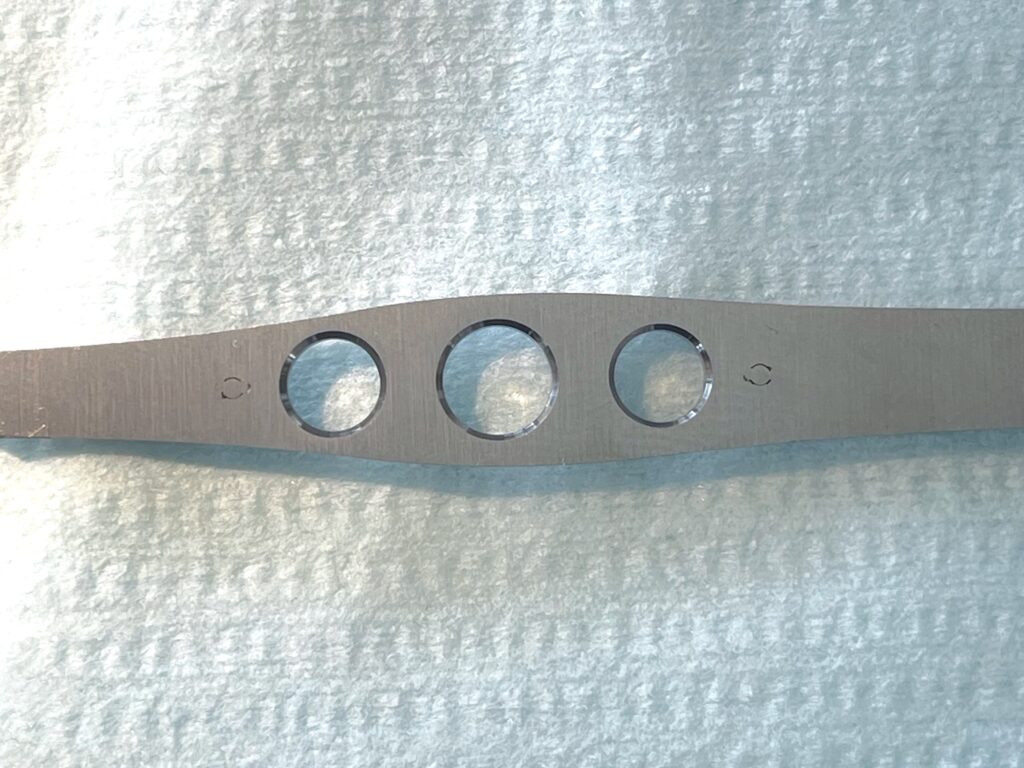
Welding colibri tweezers
The colibri tweezers are a high-precision surgical instrument. We will show you how such tweezers can be welded using our high-precision micro TIG welding process. Other surgical instruments and tools can also be welded in the same way – with minimal heat input and minimal structural changes.
Welding the pins
The pins are welded flush to the outside of the tweezers using several welding points. A medium power setting and a pulse duration of 4-5 ms on the Micro Arc Welder are sufficient.
If necessary, the weld seam can be trimmed and ground smooth after welding. As a rule, however, reworking is not necessary.

Checking the dimensional accuracy
After welding, only the dimensional accuracy and the distance of the pins from the tweezers need to be checked. The weld seam itself is not visible on the inside of the tweezers on the spacer pins. Discoloration or other optical impairments of the material are also ruled out with the micro TIG welding process.

Positioning the second half of the tweezers
The second half of the tweezers is placed flush with the first half at the end of the handle. If required, the two halves can also be fixed together using resistance welding to simplify the subsequent welding process.

Welding the tweezer halves
The two halves of the tweezers are welded flush with each other at medium power level and approx. 5-6 ms pulse duration of the Micro Arc Welder. If the welding points overlap cleanly, subsequent reworking is not necessary. However, for a perfectly smooth surface, it is advisable to grind and polish the weld seam afterwards.

Checking the tweezers
The colibri tweezers can be inspected and subjected to quality control immediately after welding. The micro TIG weld seam guarantees a permanent material bond and is also visually perfect.


