Welding on ear studs
Broken ear studs are one of the classic repair tasks in any goldsmith’s workshop – the challenge lies in achieving a permanently stable connection without weakening the welded joint by using too little material. This tutorial shows how ear studs can be welded on safely and durably with the PUK: from the correct preparation of the welding area to the targeted application of material and the final connection.
1. preparation I
To achieve a stable weld, it is necessary to have sufficient metal at the welding point. This prevents thin welds and achieves greater stability.
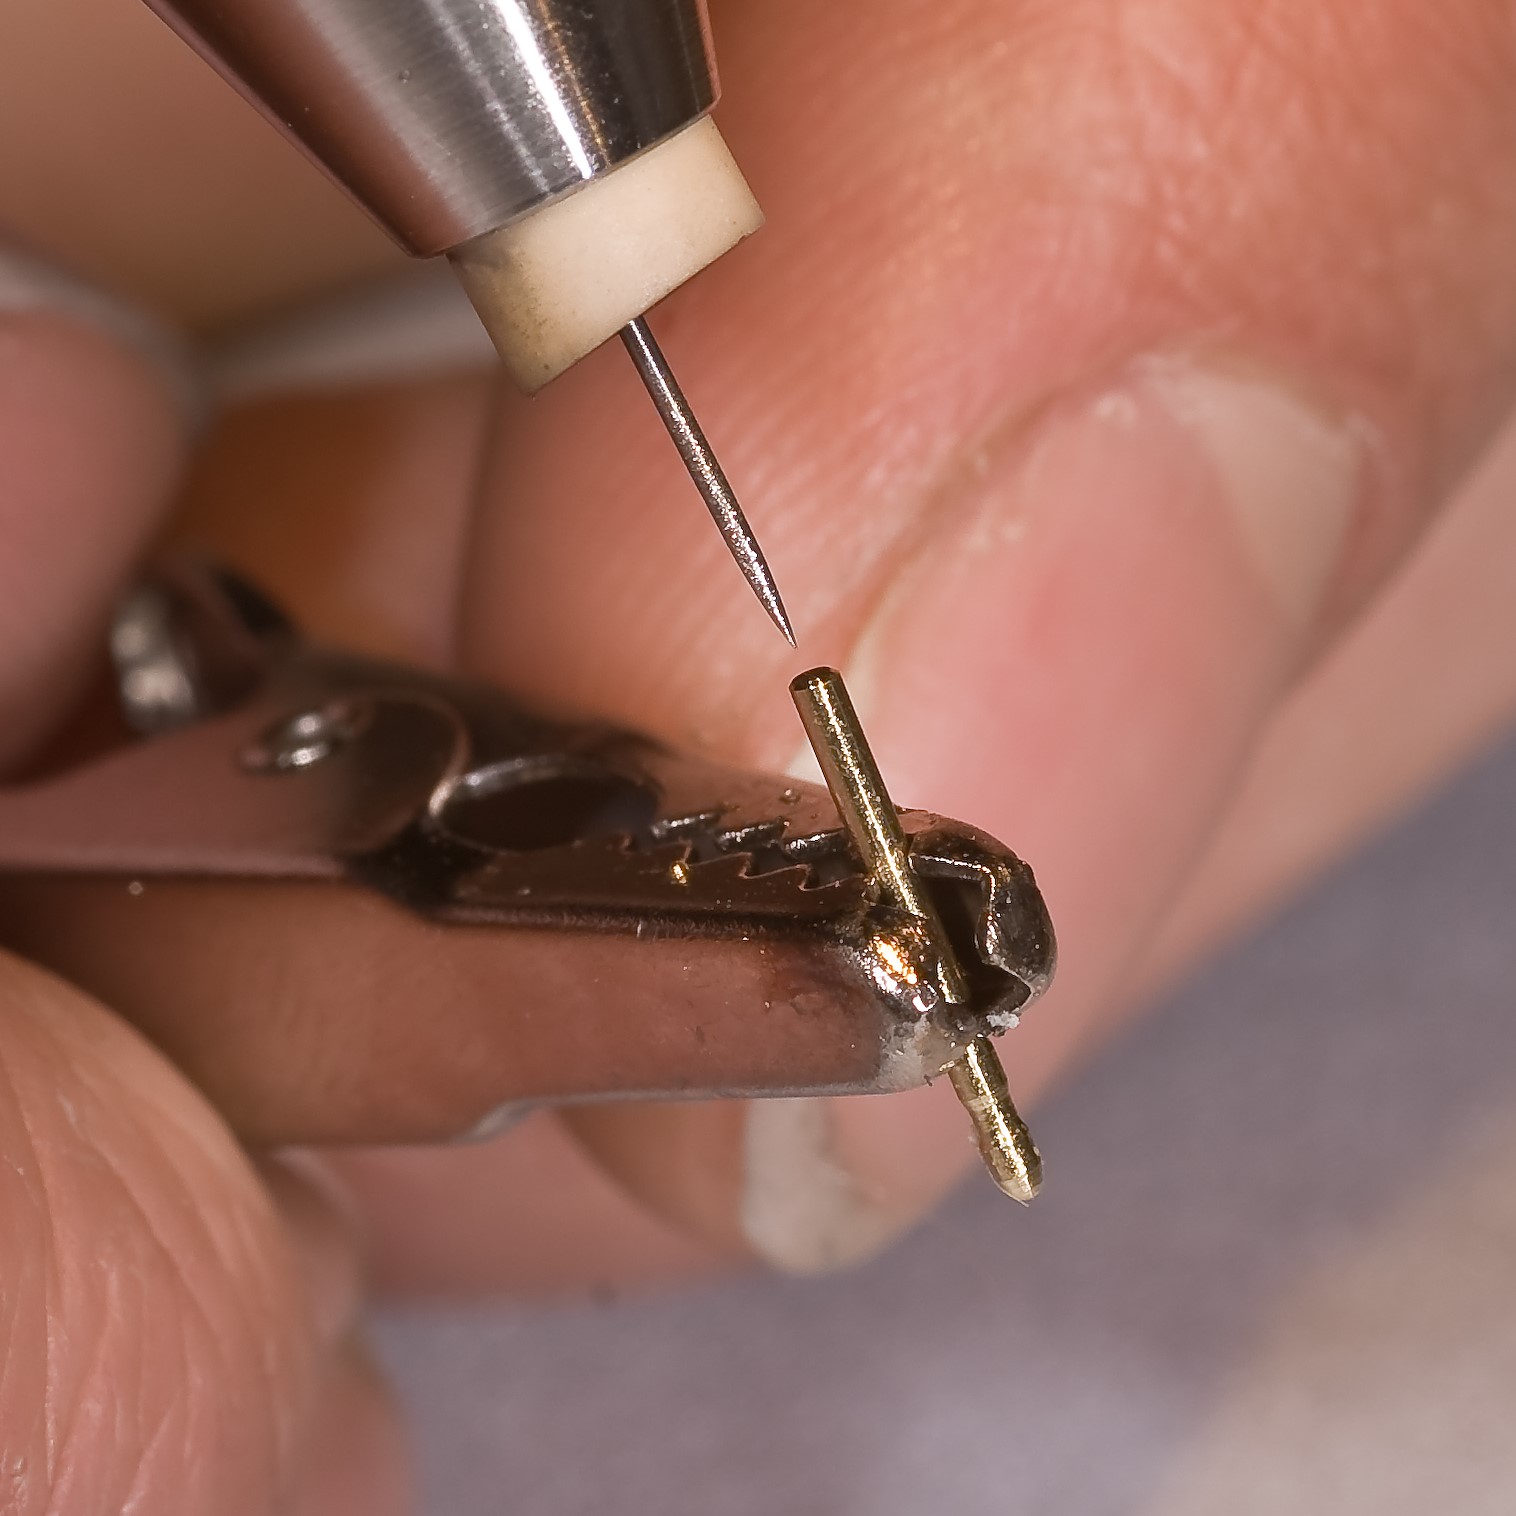
2. preparation II
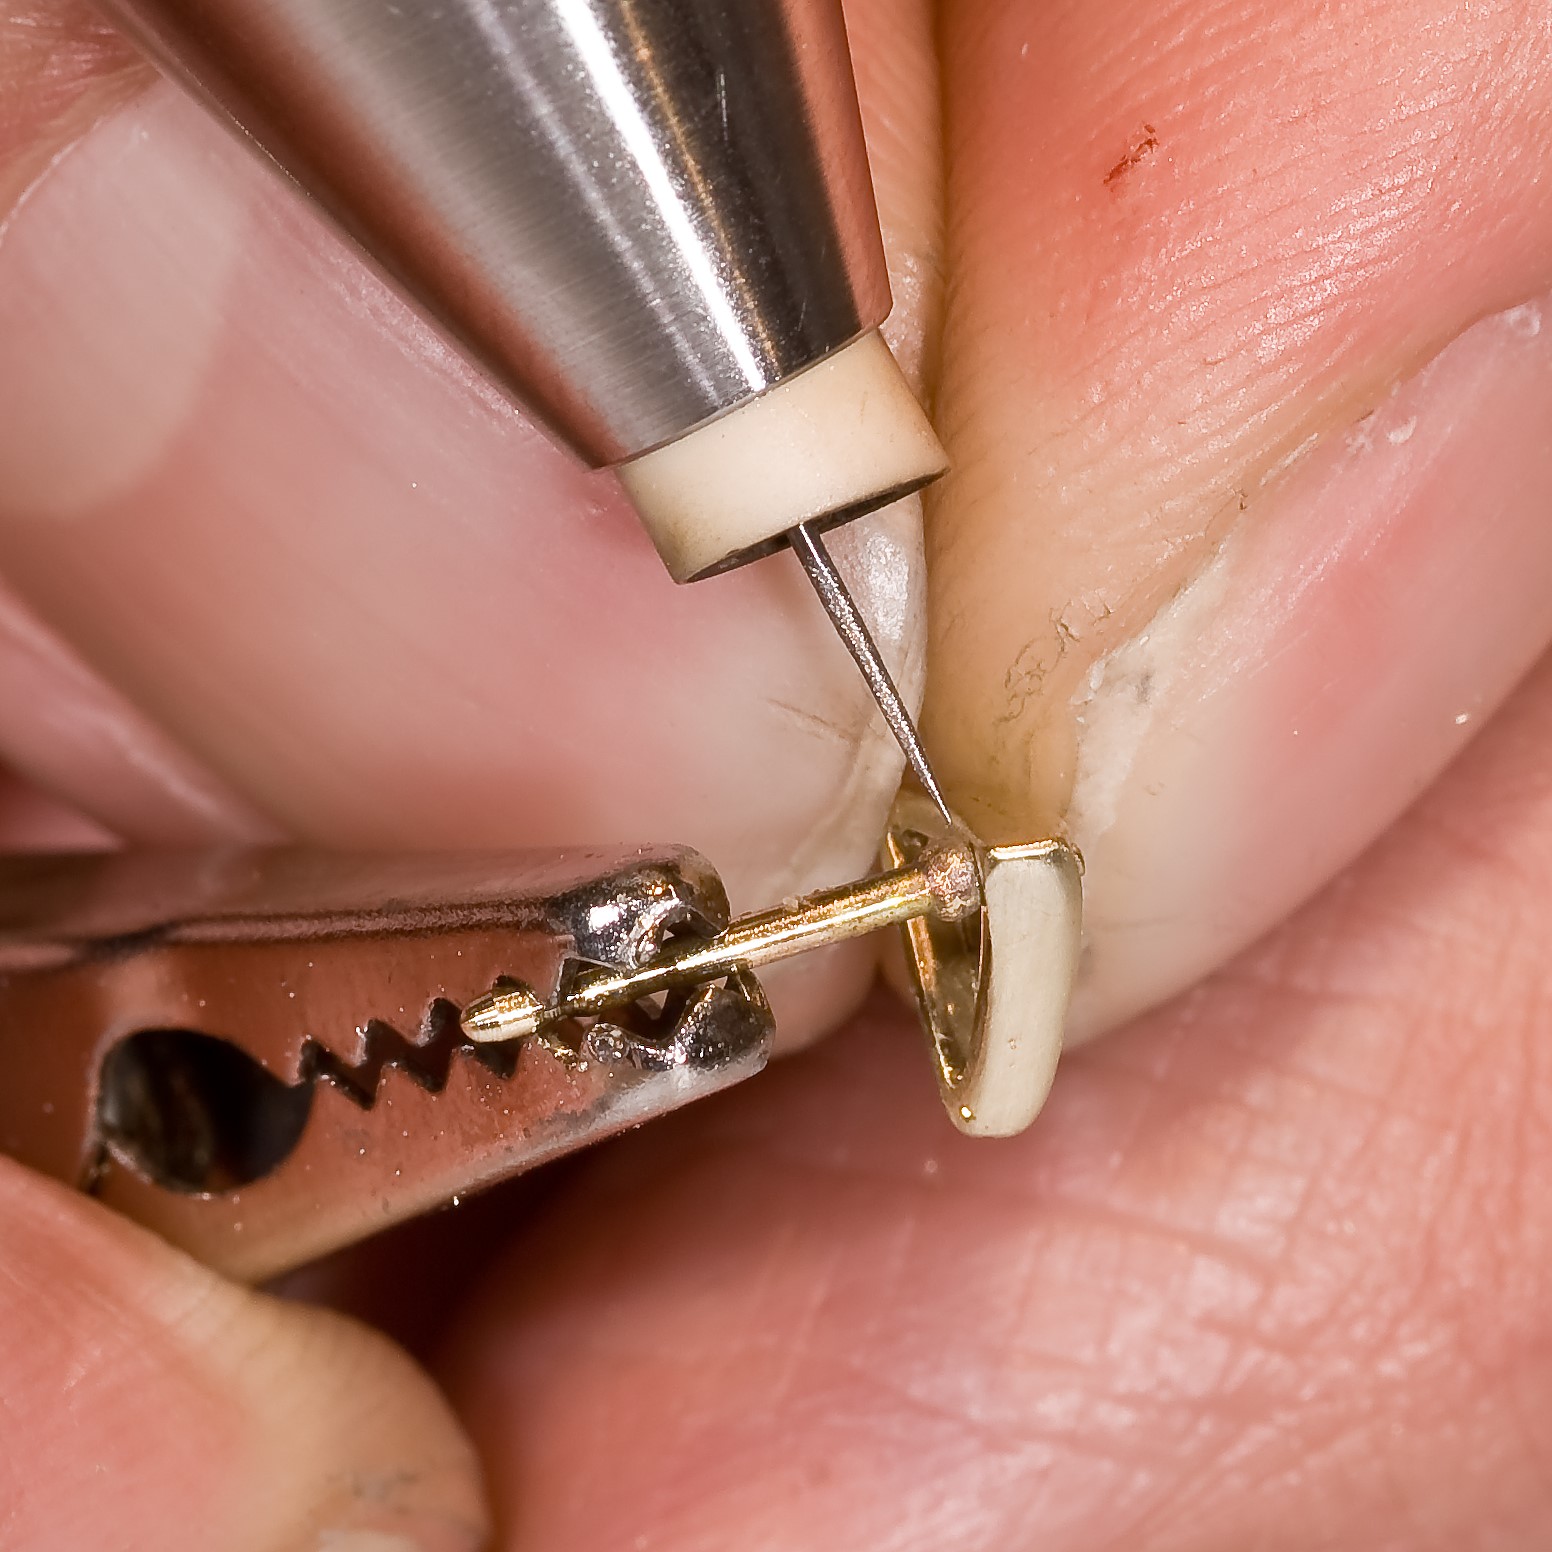
To create a thickening, hold the pin with a clamp and make a welding point at the end of the pin.
Please place your hands on the work table when welding (resting position).

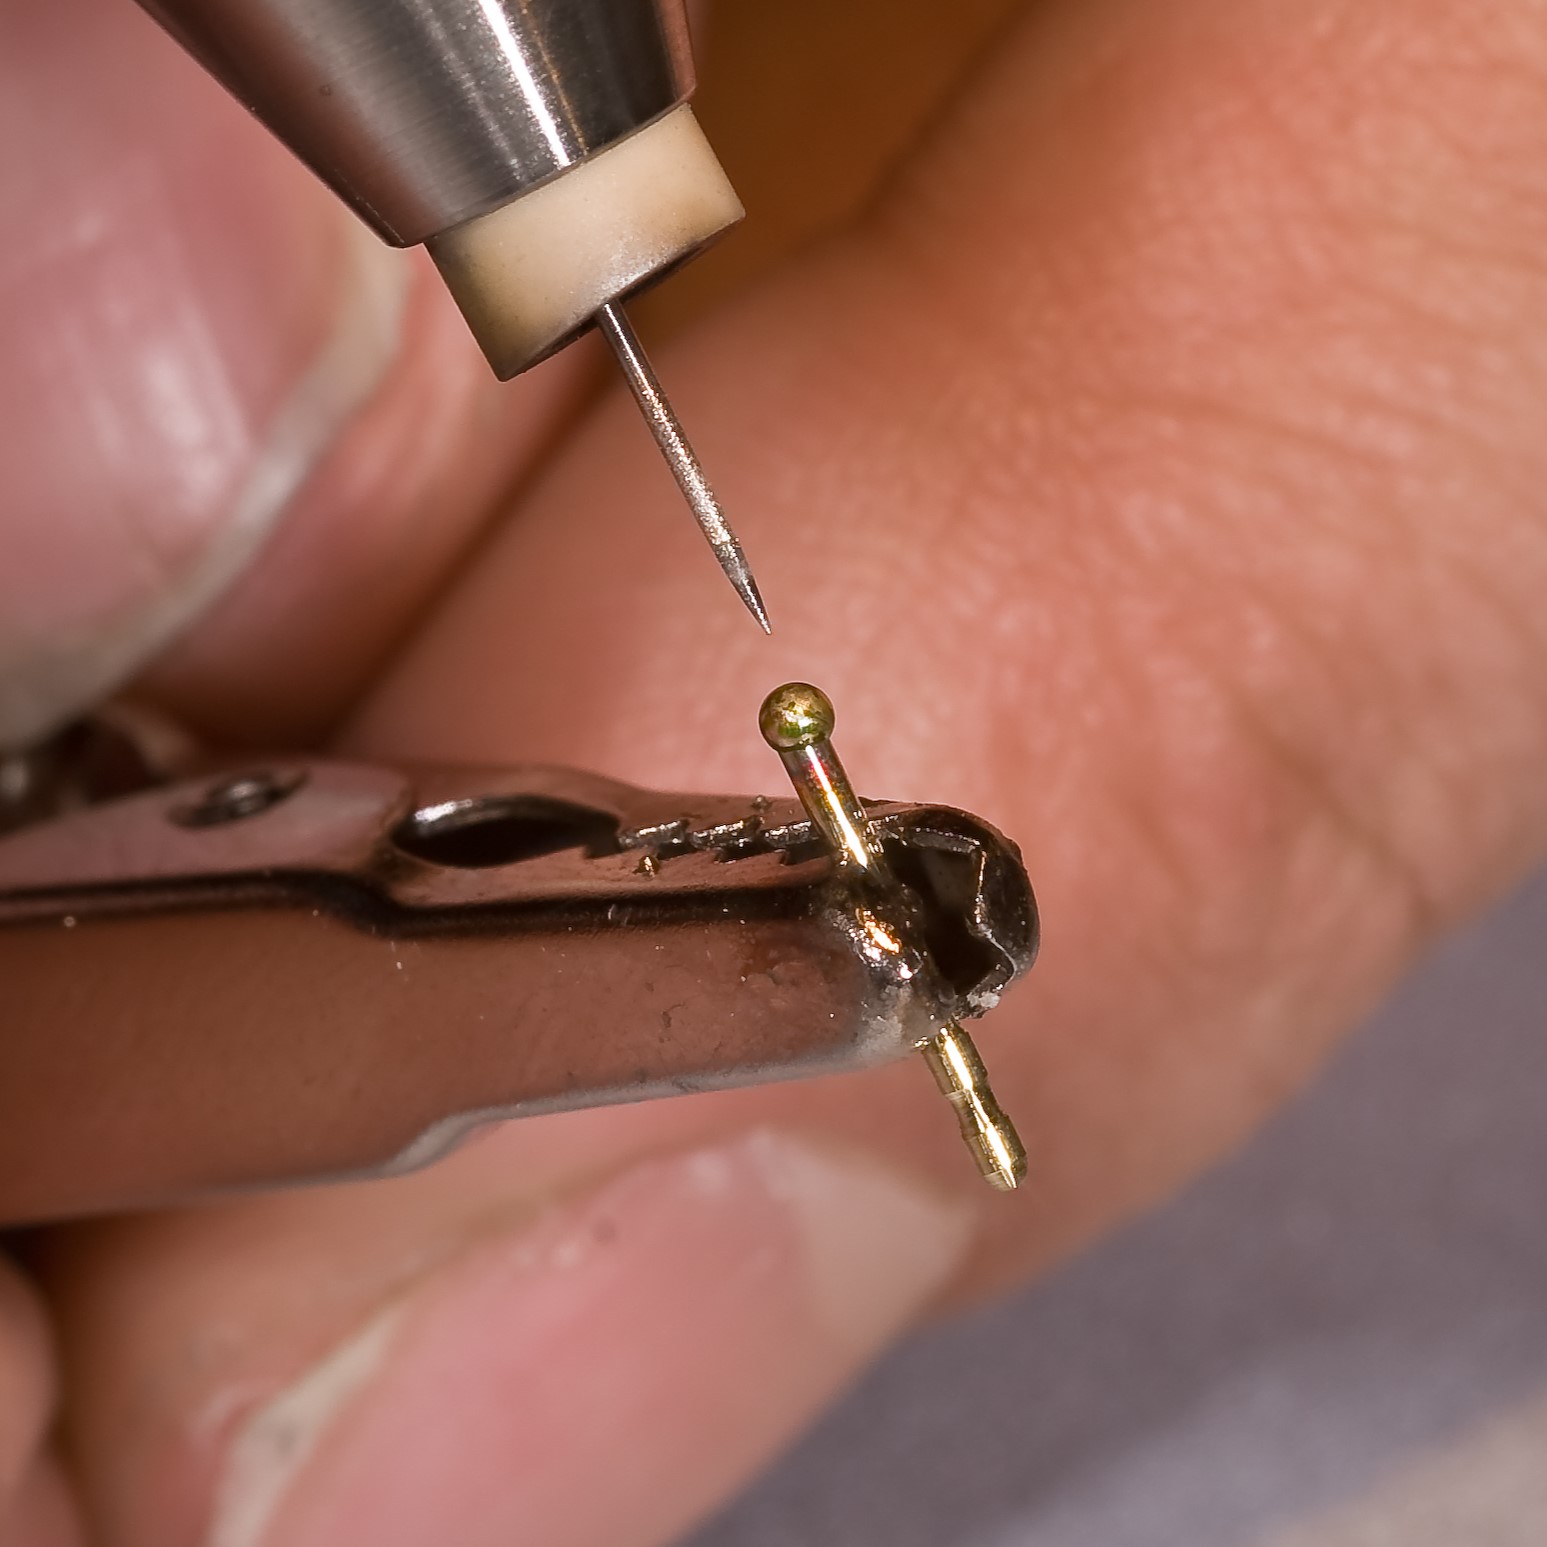
3. preparation III
Slowly increase the power until you have a ball that is approximately twice the diameter of the pen.
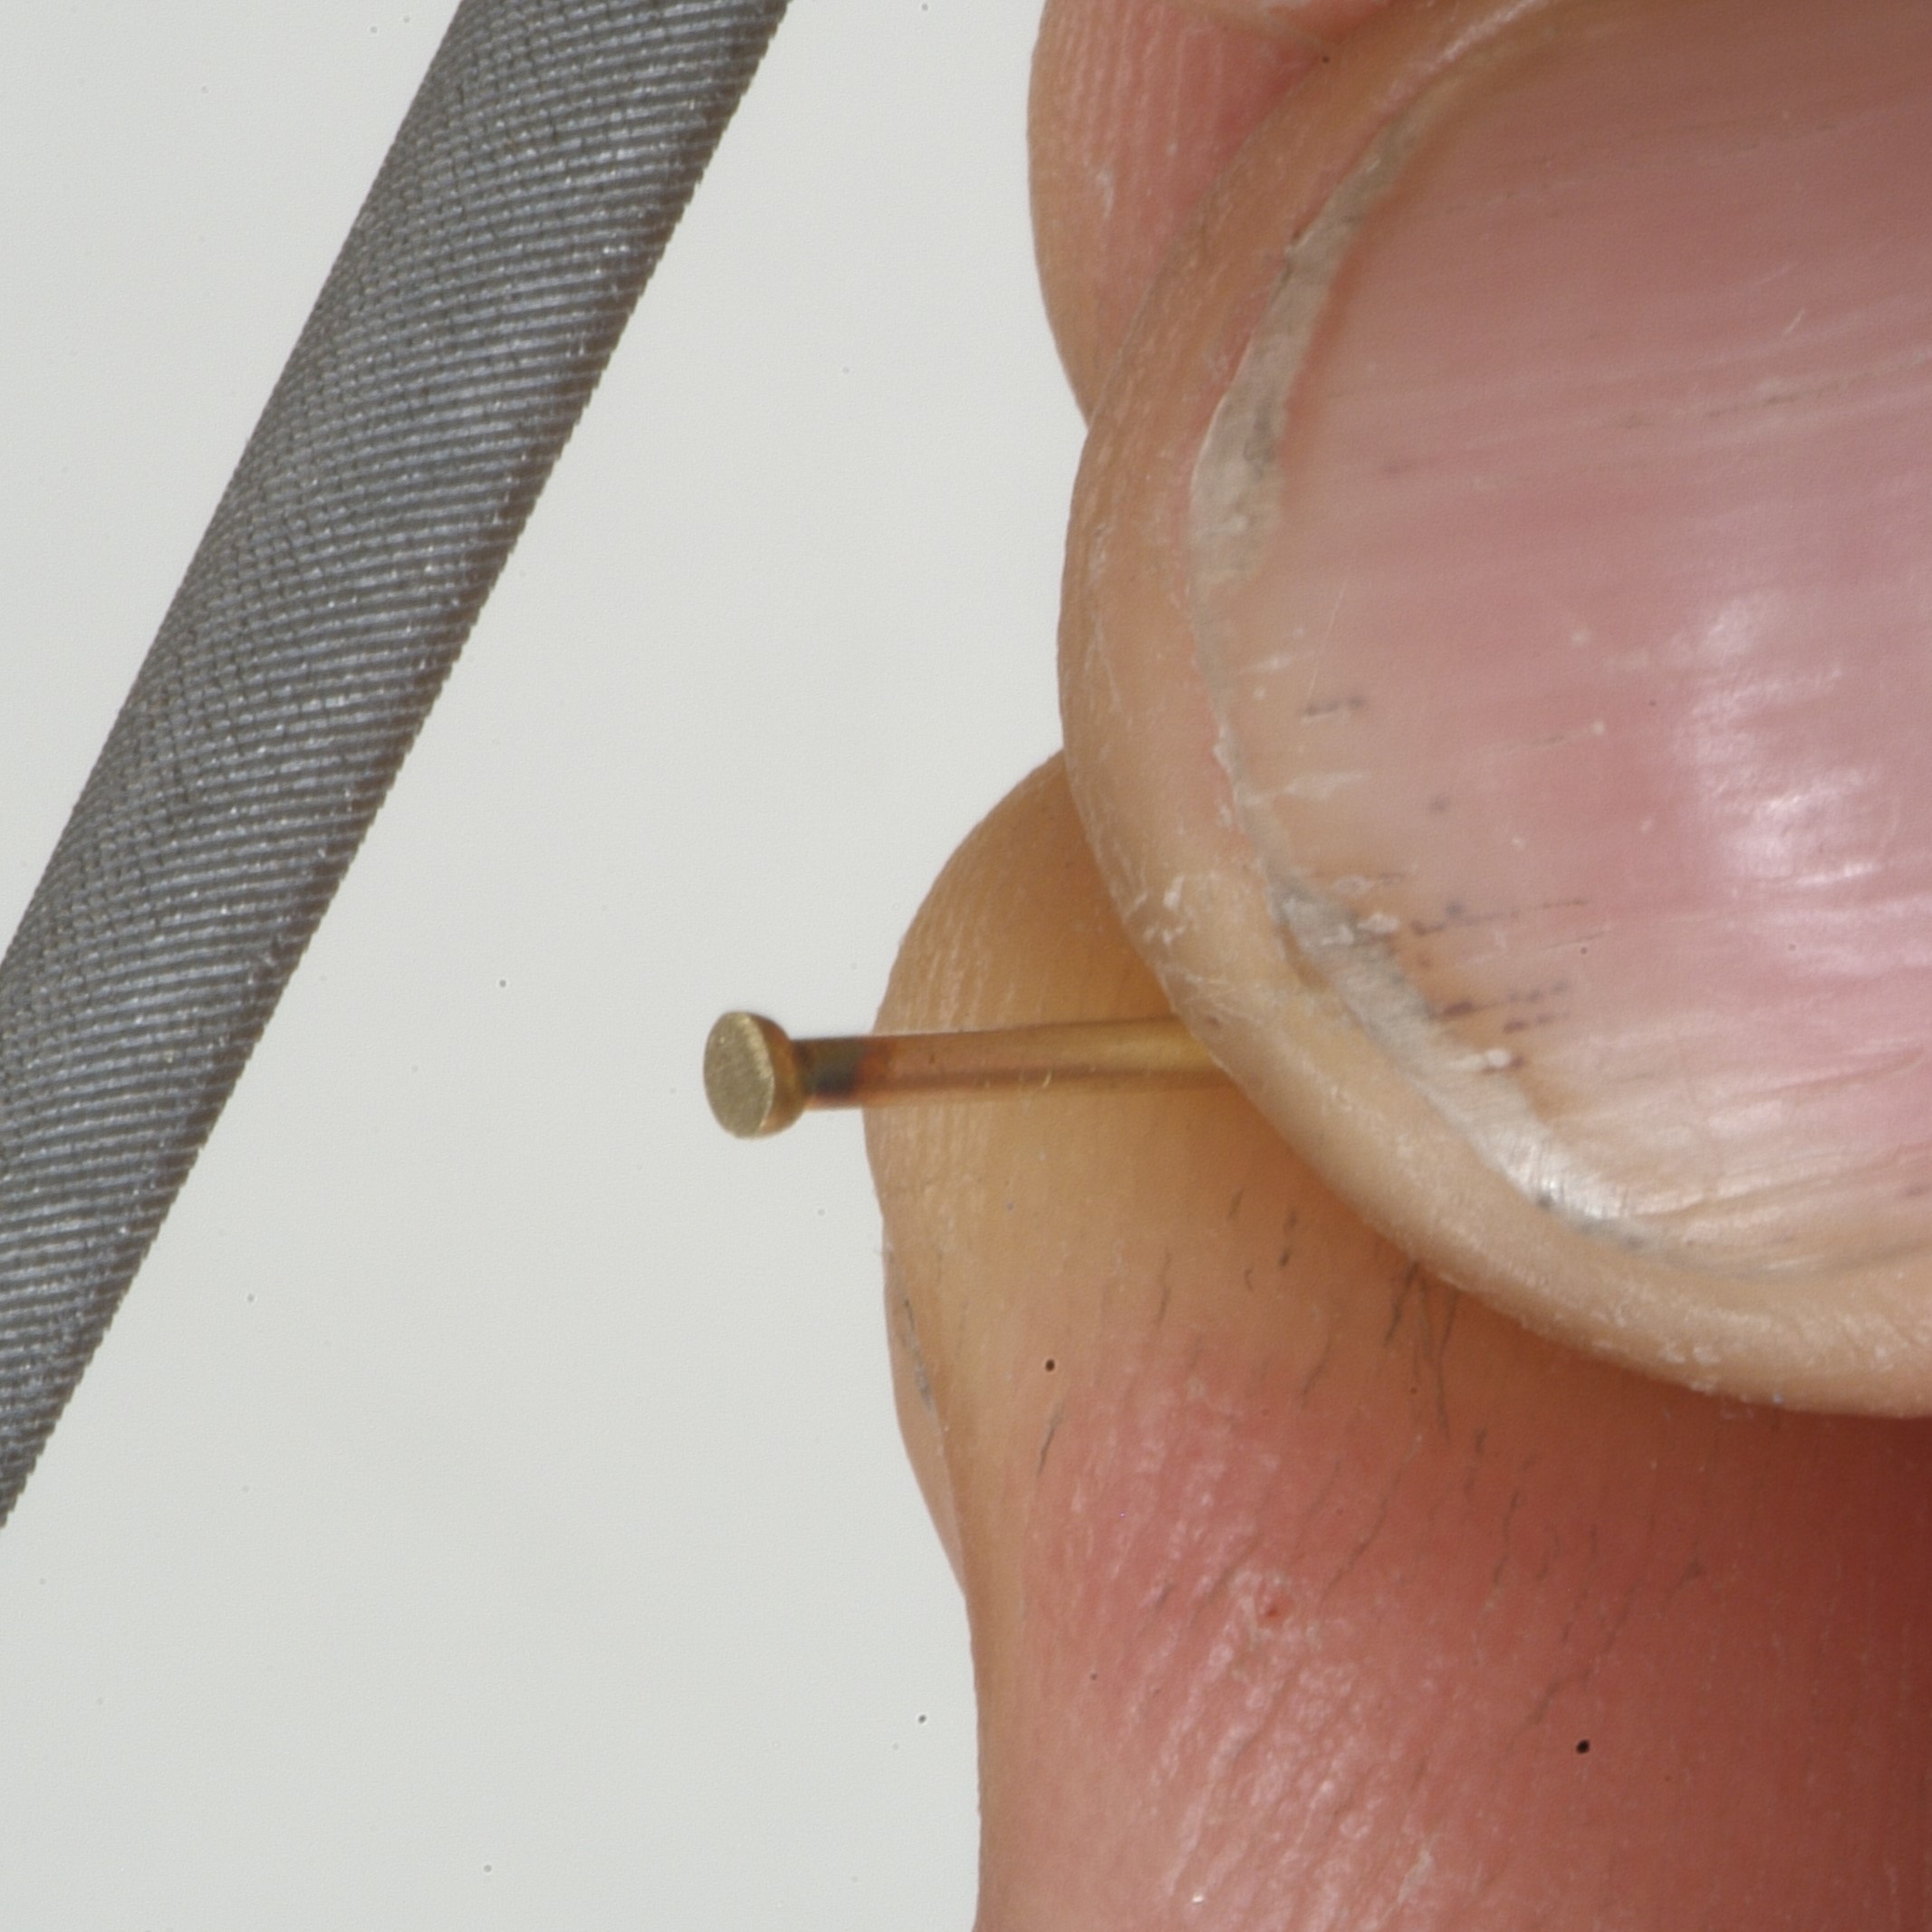
4. preparation IV
This ball is now either filed flat with a file or a depression is milled into the ear jewelry where the plug is to sit. Do not remove the burr created when filing, as this will additionally reinforce the weld.
5. first welding point: fixing
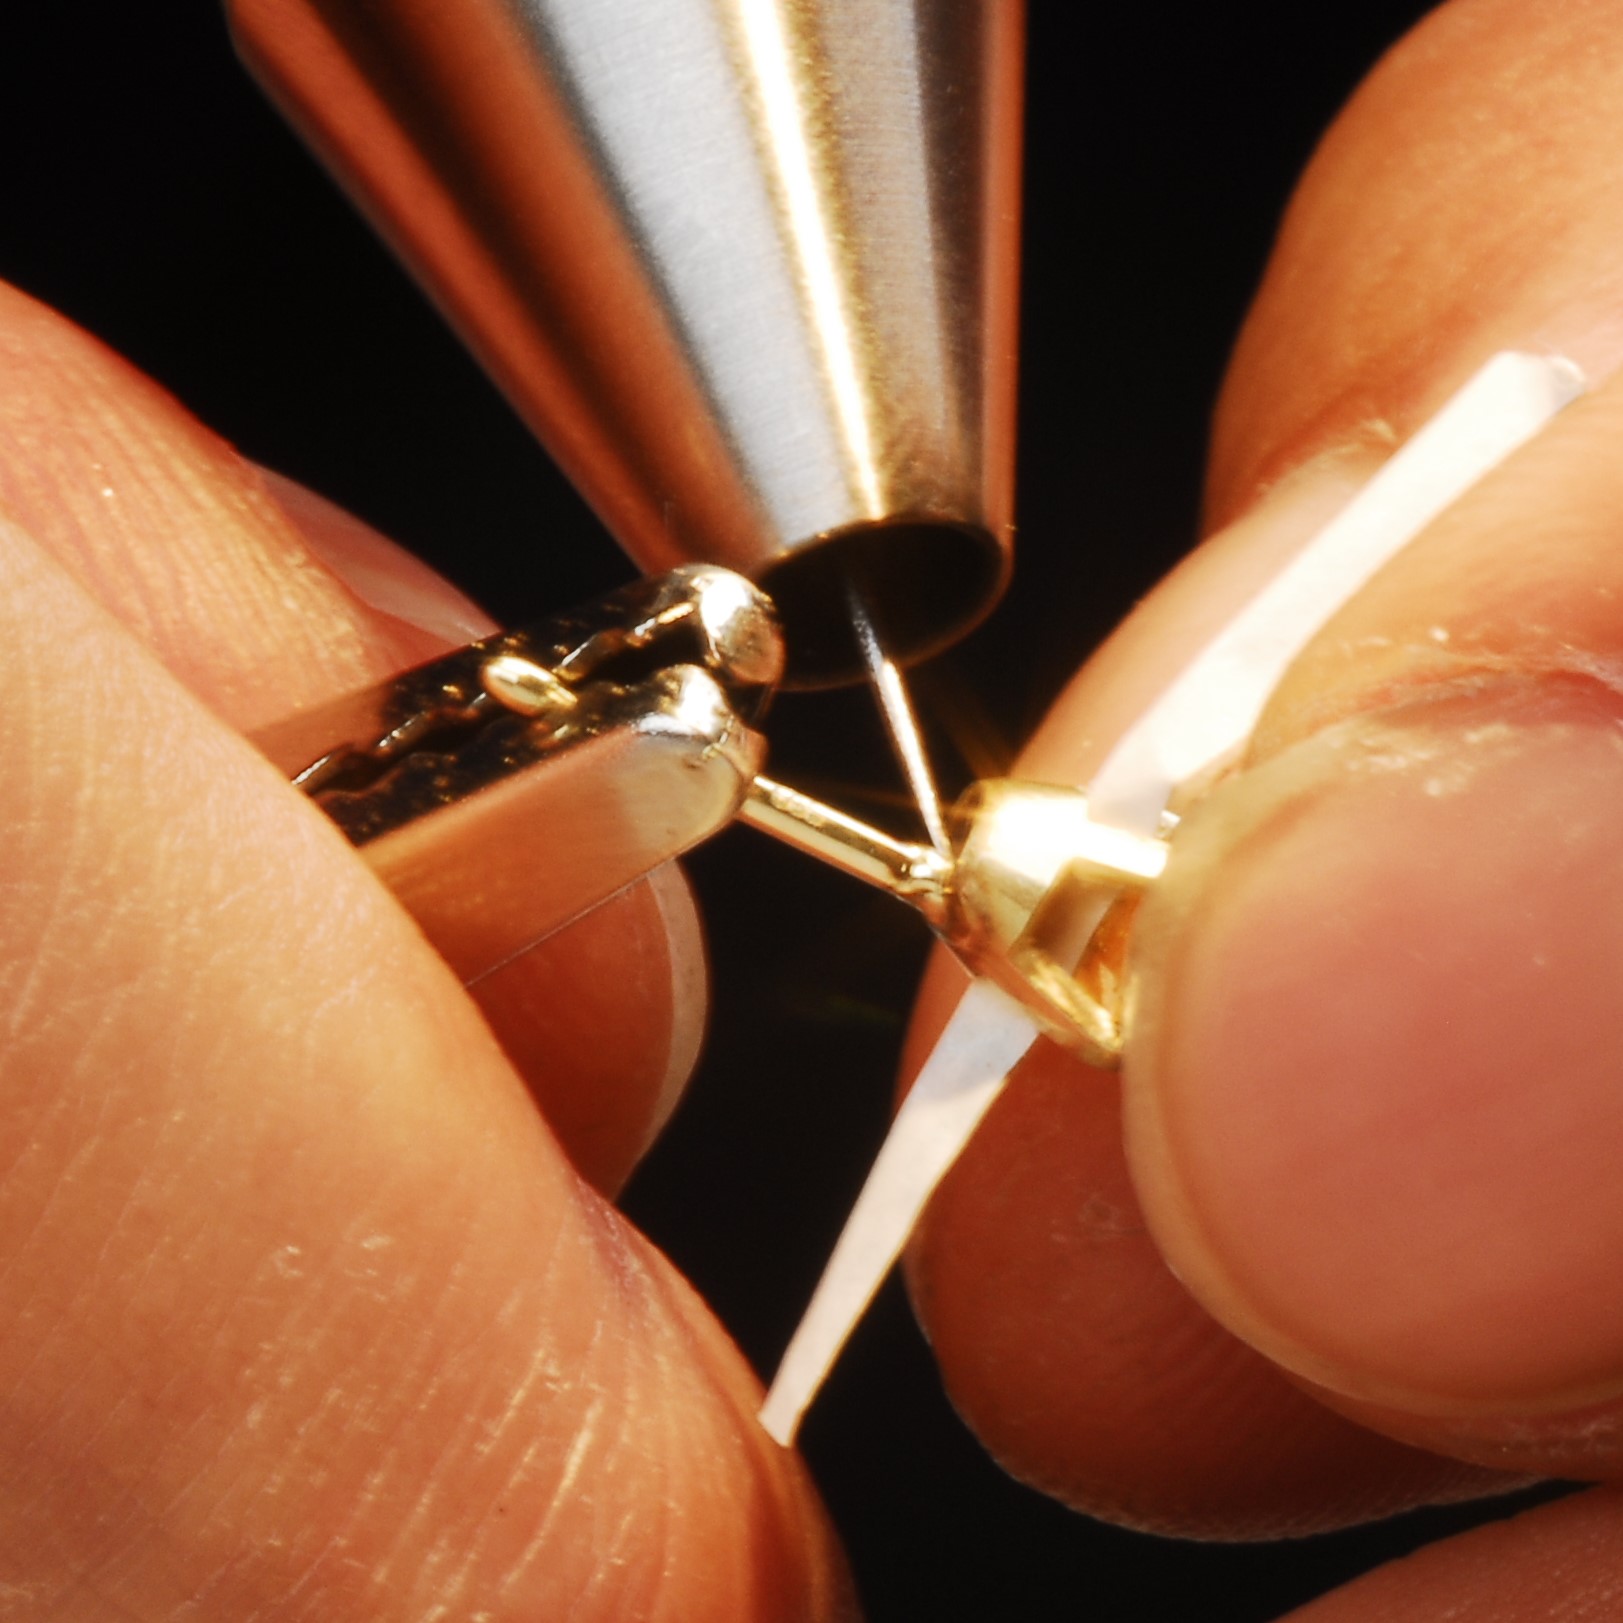
Place the electrode tip at a 45-degree angle at the contact point between the base of the ear pin and the workpiece and set a first welding spot.
6. weld seam
Once the pin has been fixed from two sides, place the electrode tip on the edge of one of the two spot welds to continue the seam around the pin. This creates a weld bead of overlapping spot welds, which ensures a stable connection between the components.
In this case, a small piece of paper was positioned under the stone before the final circular welding to protect it from soiling .
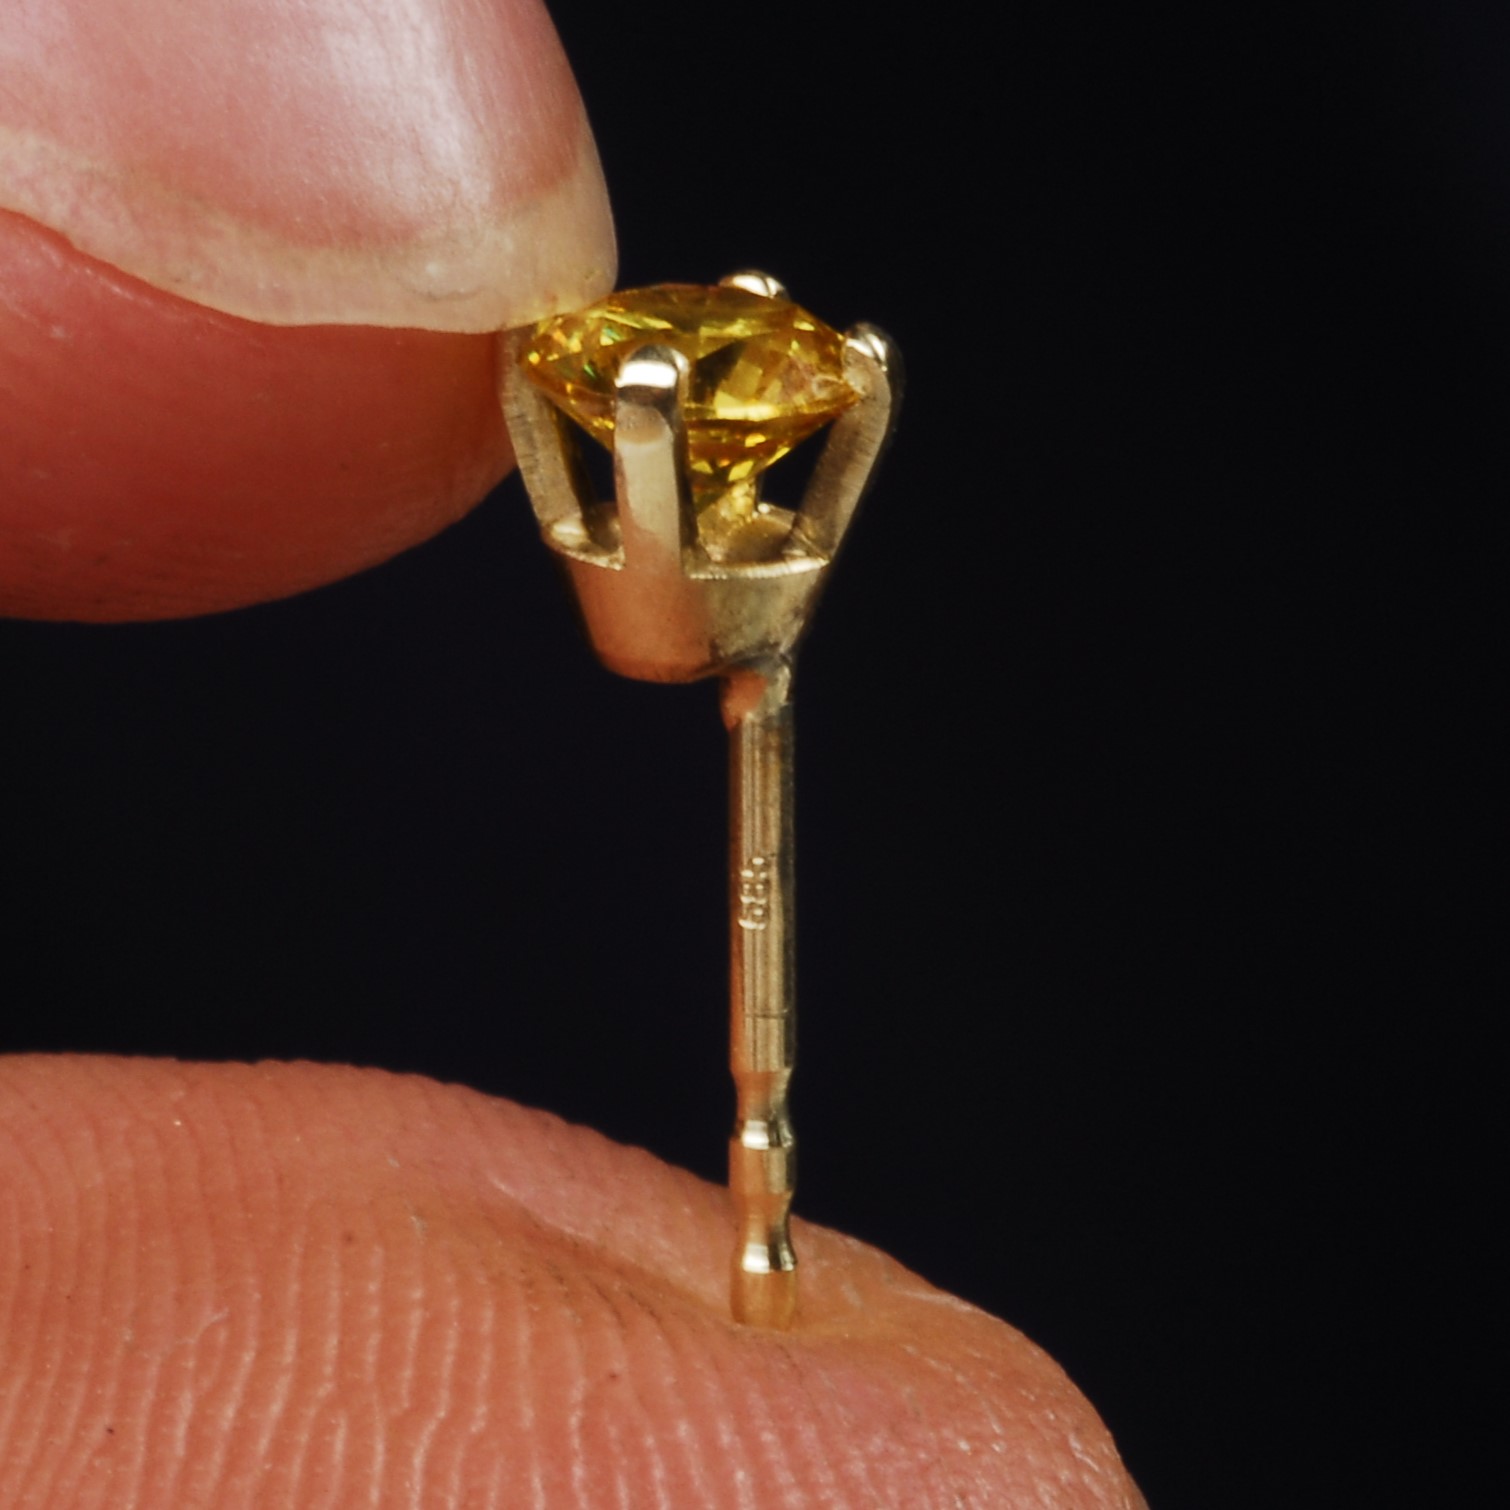
7. result
The finished ear stud with the ear stud pin welded on!